Download Nostalgia GBA Emulator for PC and Laptop
Learn to download and install Nostalgia GBA Emulator for PC or Laptop and enjoy nostalgic games with Nostalgia.GBA now on the big screens.
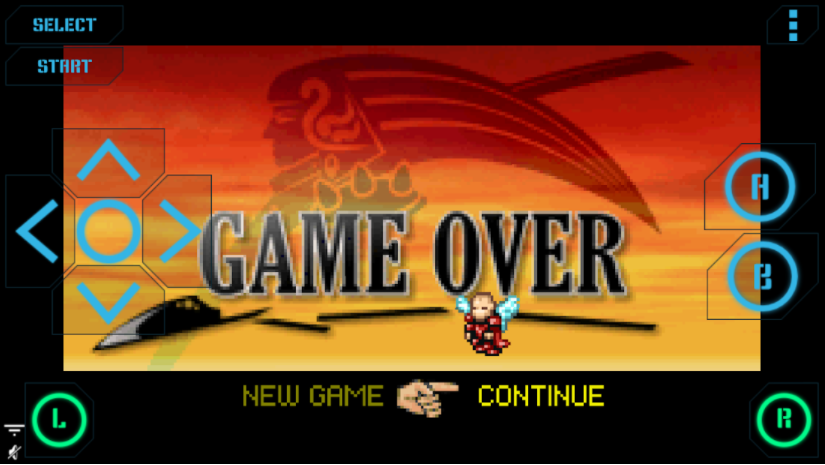
Looking for a way to run classic games such as on Gameboy? want to experience nostalgia? Well, we have Nostalgia GBA Emulator for you that allows you to use the GBA cores and plugins. This enables you to emulate the GBA emulator, thereby allows you to install and play all those classic games. In this guide, we will help you download Nostalgia GBA Emulator for PC and Laptop. You can easily install Nostalgia GBA Emulator on handheld devices via Google Play as it is an Android app. And while it is developed for handheld devices, it takes a little effort to use it on the big screen.
About Nostalgia.GBA
Nostalgia GBA Emulator is a high-performance emulator based on the mGBA and is under the terms of the MPL license. It is modern, user-friendly, and highly customizable so you are free to adjust things as per your convenience. In terms of features, unlike most of the apps based on GBA, you can save progress and there are 8 manual loading slots, virtual of course including screenshots and an autosave slot. Moreover, you can share save states across devices via mail, skype, Bluetooth, etc. It features Wi-Fi controller mode and OpenGL ES for accelerated graphics.
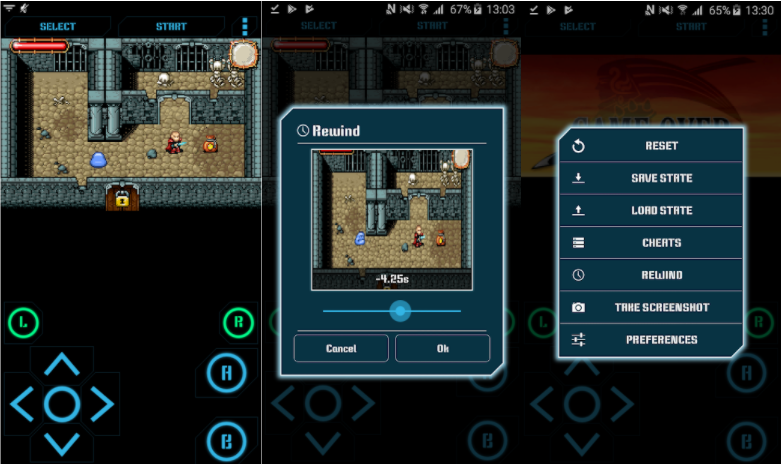
However, note that it doesn’t come pre-loaded with the games and you have to upload them separately. Also, it doesn’t include ROMs but you can add them anytime. The good thing is that you can use special cheat codes to make things more enjoyable. In short, if you are into GBA games and want to experience nostalgia, Nostalgia GBA Emulator is quite promising. It is free-to-use and you can easily install it on handheld devices via app stores. To download Nostalgia GBA Emulator for PC on Windows and Mac, head over to the sections below.
Do Check: M64Plus FZ Emulator for PC, Windows 10 and macOS
Nostalgia GBA Emulator PC Download
Given that you can play all classic games and relive through nostalgic feelings with the Nostalgia GBA Emulator, you might want to experience all this on the big screens of PCs or Laptops. Well, the thought seems appealing, note that Nostalgia GBA Emulator is aimed at Android devices and you cannot install it directly, as you do on handheld devices. Having said that, while Nostalgia GBA Emulator emulates or based on Game Boy, there are Emulators that emulate or run Android OS. And that’s how you can run and use Nostalgia GBA Emulator on big screens.
How to use Nostalgia.GBA on Windows and Mac
Android Emulators are basically virtual machines that set up an Android OS platform, thereby allowing you to install and use Android apps or games. Since Nostalgia GBA Emulator is basically an Android app, via the Emulators listed below, you can easily install and use it on your PCs and Laptops. Let’s get to details and set up an Android Emulator on a PC/Laptop.
- The very first thing you need is to download the Emulator you see fit.
- On Windows, you can download BlueStacks 4 using the links below.
- If you are using Mac, you can get the Nox Player using the link below.
- Next, install the emulator on your PC or Laptop.
- To set up the Emulator, sign in using your Google Account. If you do not have one, you can sign up for it for free.
Install Nostalgia GBA Emulator for PC and Laptop
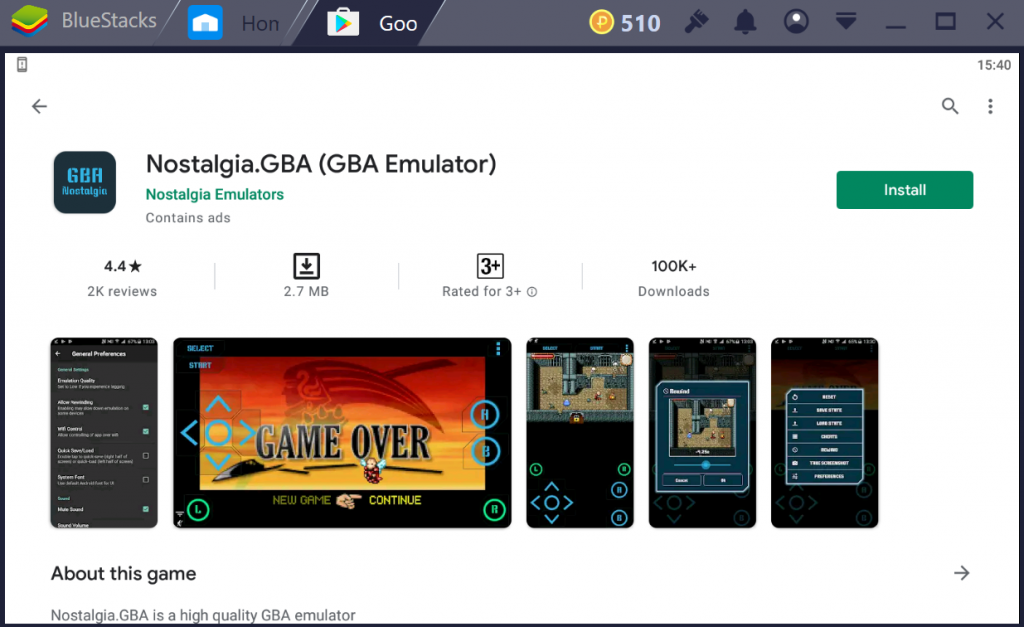
- Launch the Emulator and Open the Play Store in it.
- In the play store search bar, type “Nostalgia GBA Emulator” without quotes and press the Enter key.
- Next, install the Nostalgia GBA Emulator app via the Emulator.
- Once installed, you will find Nostalgia GBA Emulator under the All Apps section of Emulator. That’s it.
NOTE
While running Nostalgia GBA Emulator PC on big screens, keep in mind that it will not work system-wide and you must open it inside the BlueStacks or Nox Player.
If you are having trouble downloading Nostalgia GBA Emulator for PC, let us know via comments.